

Starting with our lady:
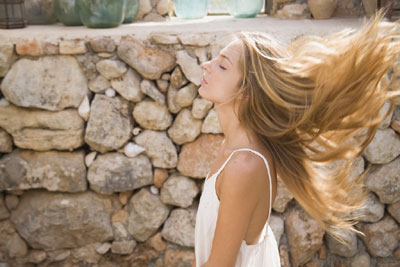
Desaturate the whole picture CTRL+SHIFT+U.
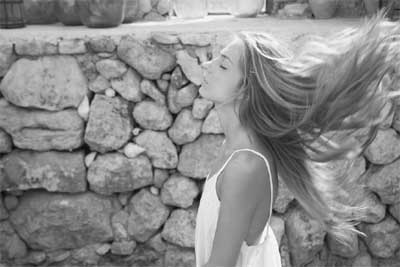
Duplicate the woman/background image in the layers window twice (a total of three copies). Hide the top one and work from the middle one. You can hide the bottom one if you like, but we’re just keeping this as a backup in case we mess something up. We won’t actually be using this bottom layer.
Now, on the middle layer, we’re going to darken the scene. Use your Burn tool, 150px and 20% Exposure with a Soft Round brush. Go over the bricks and darken the whole image on either side of the lady.
Now, let’s use our Healing Brush Tool, with a Soft Round brush, 200px, Normal and Sampled. Hold ALT down and click somewhere on the left-hand side of the brick wall, then click around on the right side. Our goal here is to cover her hair up, making it look like it’s all background/bricks.

Continue doing this until you get the bricks dispersed well.
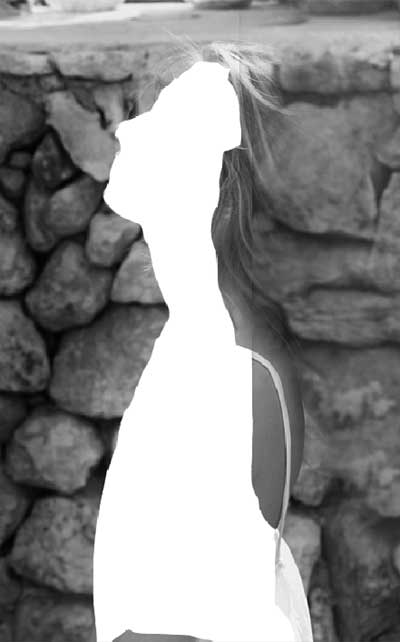
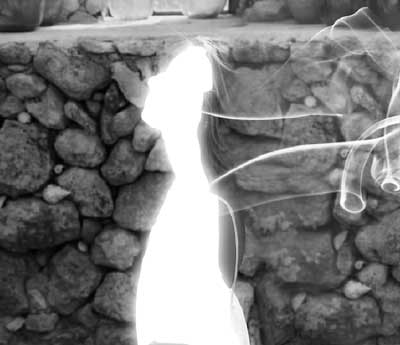
This next part doesn’t need to be super-smooth, but making smoother lines will make it look better in the long run. You can use either the Pen Tool to outline the woman’s face and down her front, or the Magnetic Lasso Tool to trace the same area. Either way, you want it to look decent.
Create a new layer and fill in this new shape with white.
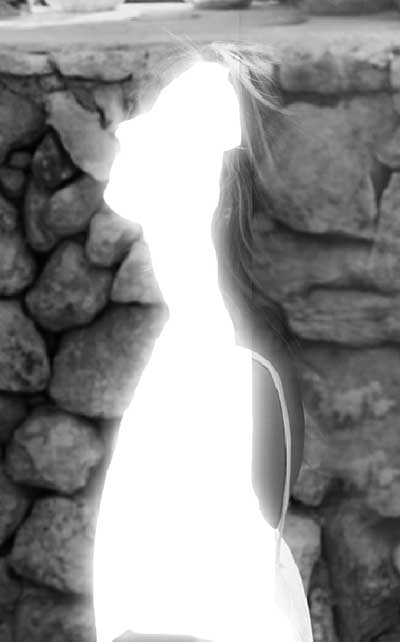
Double-click on the layer in the Layers window to open up the Layer Style window. Click on “Outer Glow”. Make it Screen, Opacity 75%, Size 32px and Range 50%. If not defined here, set to 0. This will give the shape a nice glow, which will look better in the final product.
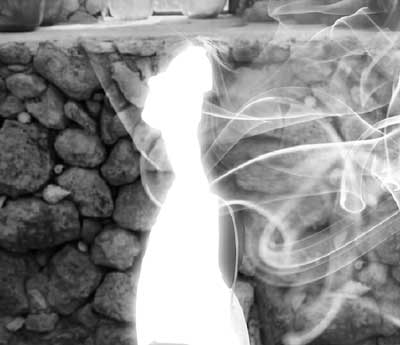
Download some Smoke Brushes from here: deviantART Smoke Brushes
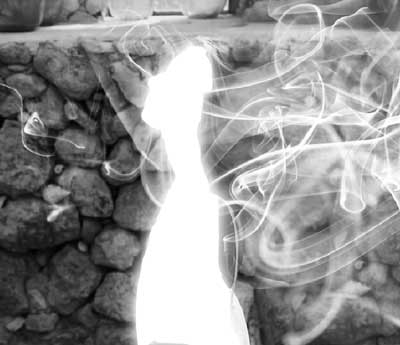
Use the Brush tool and create a new Smoke shape on a new layer. If you can, use a different smoke shape for each layer (one smoke per layer). With the use of the separate layers, we can rotate and move the smokes around. If you think you’ve added too much smoke, it’s an easy fix because you can just make a couple smokes invisible and your problem is solved.

Now our duplicated background is going to come in handy! Make sure it is up above all of the layers. Make it visible. Use the Eraser tool with a Soft Round brush at about 200px and erase the background. Be careful around the lady at first. Once you get the background removed, go back in and erase a bunch of the hair, making it fade nicely, and go along the front of her body and face. When you do the front of her, it will reveal some of that white shape layer we made, making it look more like she is glowing.
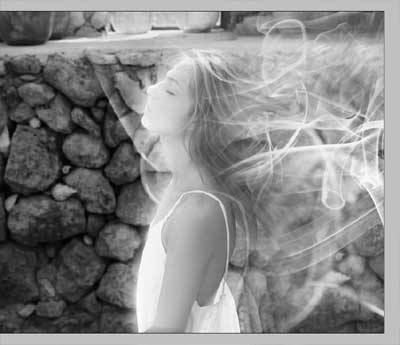
Once you have done this and got everything to your liking, duplicate your slightly-erased-woman layer. Transform her CTRL+T, and grab the middle anchor point on the back her and stretch her out. Then, go to your Filters>Blur>Gaussian and blur it up some. This just gives the image a little something extra, but subtle.
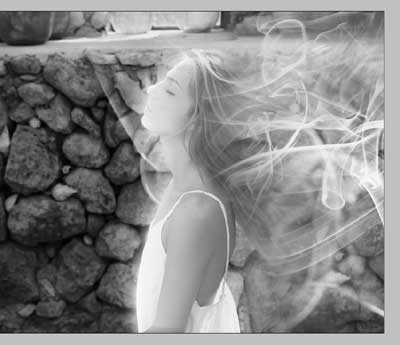
And you’re done! Now you know how easy it is to turn anyone into a ghosty.


0 Response to "Ethereal Ghost"
Post a Comment