Design Beautifully Frosty Text Effect

Posted on 5:56 PM In:

So, begin with making a new canvas of any desired size, and for now please use plain white (#ffffff) background. Later on we will add a custom texture or picture to the background, but for now, it will be much easier for your to work and see all the effects against the white canvas.

Select the typing tool and using Arial Rounded MT Bold font, set to “sharp”, use very big letters, say over 100. For the purpose of the tutorial we used 115, however if you choose to download out PSD, you will see that our original canvas consists from letters with font size 195.

Type your word.

The main part of this Photoshop tutorial consists from precise application of the layer styles as we are going to work with custom designed curved, textures (default) and a lot of other features. Let’s begin and please try to follow us throughout the tutorial if you wish to achieve the same result.

Go to Layer >> Layer Styles, and start off with “Drop Shadow” options. Apply the settings as you see below. For the shadow here we used a very dark blue, almost black color: #003059. However, feel free to chose a different hue if you are going to work with a light background canvas afterward.

Switch the tab to Inner Shadow. For Inner shadow we used a gray-blue color #0a7eaf, which will nicely complement the overall wintry feel of this text. Please pay attention to the fact that we are using “Noise” here at 3%, to add to the grainy / snowy effect.

Switch to Outer Glow and apply a very dark outer glow effect, we used #0a1732 with 35% which gave us light yet dark outlined shade.

Working our way down (in Photoshop..), to Inner Glow settings. This one gives our text effect the feeling of light and reflection, yet this is not going to be a direct spotlight, rather a cold reflection as you are used to seeing when looking on ice. Also here please note that we have applied a 17%, very visible noise.

Add Bevel and Emboss settings for extremely curved effect.

As you could see, for the Shading we used a custom design curve, which we developed especially for this tutorial. Click on the Gloss Contour icon and try to replicate the mapping as you see below. This could be a little tricky, so if you are stuck, when you download our PSD this will come ready and you will only need to save this one to your custom curves for future usage.

Inside the Bevel and emboss settings, you have an option called “Texture”. Select one of the default, pre-installed patterns called “Weave 5″ and apply with Depth and Scale as you see below.

Please pay attention to the Depth here. The less you set it to, the less texture coming from the top you will see, so in our case, we use this Photoshop texture to create the illusion of fading snow and you can play around with setting it to even less than 4, to see how you cover just the top of it.

And now, Satin settings:

Gradient is going to be from dark hue of baby-blue shade #6ed3fe to lighter shade of blue #e4ffff

Now the last thing, we are going to add “Stroke”.

Colors: #000000 … #ffffff … #999999 … #cccccc …#000000

And here is what you got so far, if we zoom in a little:

Next step is, select the text layer, just press Ctrl + the layer in the layers preset.

Create a new layer on top of the text and press Ctrl + Shift + I to inverse the selection.

Fill the layer with one of the colors we used for our text:

Se the blending options of this layer to “Hue”. Now, at this point you are not really going to see any difference but what we want to do is add a nice wintry motif to the background, which will complete our frosty text atmosphere.

Take any image you like and paste it behind the text layer. Don’t worry if he hues of the image don’t meet the color scheme of your composition, because the blue layer with Hue overlay blending settings is going to equalize the images’ tones to match the text.

Here is your result (click the image to full view).


Photoshop Tip: Using Layer Masks

Posted on 5:55 PM In:

In this beginner tutorial I will show you different ways to use layer masks to add some extra flare to your photos. First I will show you how to add color to a black and white image, then I will show you how to add depth of field to an image by just using blurring and a layer mask.

Before you begin download the images for the tutorial

Tip 1: Black and white Photo with Color

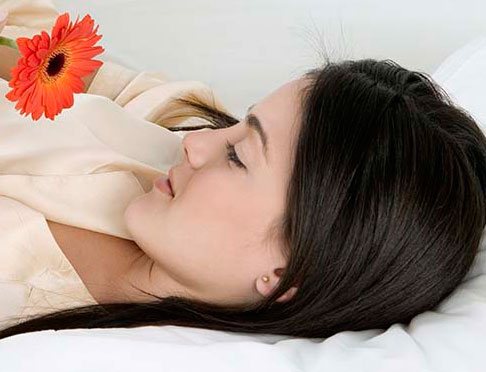
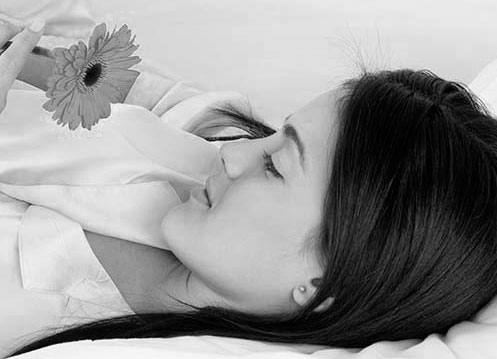
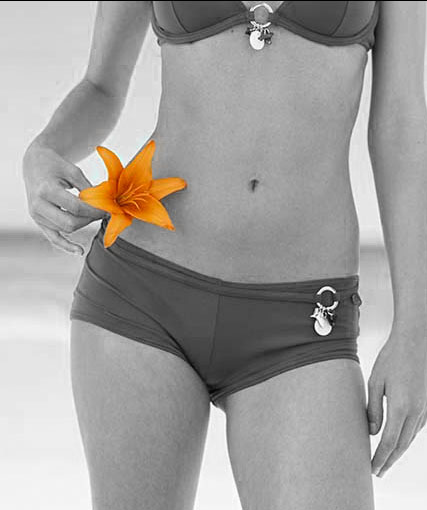
After you download the picture of the lady laying on a bed with a flower, open it in photoshop.

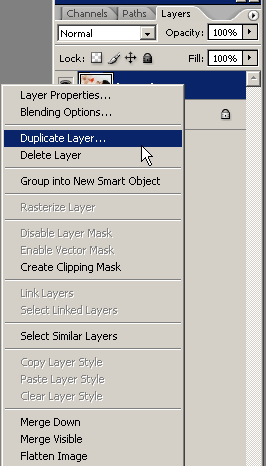
Duplicate the image

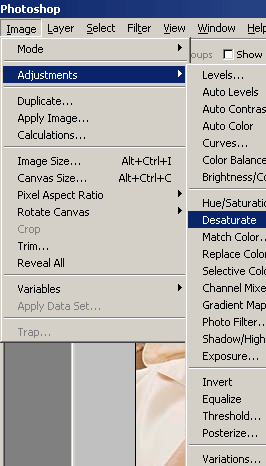
Now make the top image black and white by using the keyboard shortcut ctrl+shift+u. Or you can go image>>adjustments>>desaturate on your top photoshop menu

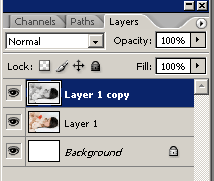
Now your image should be black and white and you should have a layer underneath it that is still color

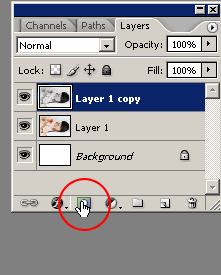
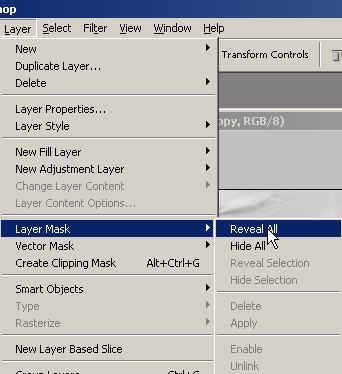
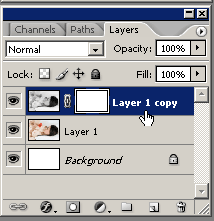
Its time to add the layer mask to the black and white layer. So you can click the layer mask icon at the bottom of your layer’s palette or you can go to layer>>layer mask>>reveal all.

Once you do that your layer should look like this

Make sure your foreground and background colors are set to default (black and white)

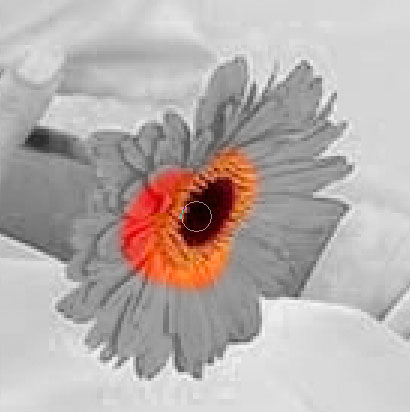
Get a soft brush around 13px and start painting the flower to make the color show through.

For this to work make sure your foreground color is black.

I zoomed in about 300% with the keyboard shortcut ctrl+ and zoom out with ctrl-.

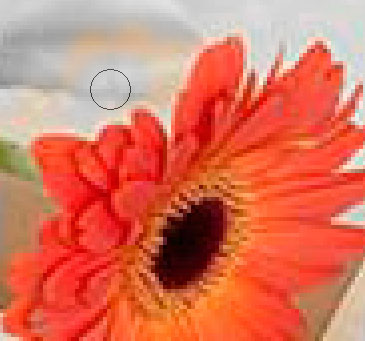
What if you go over the edges? Well its simple hit “X” on your keyboard to make your foreground color white and paint back the parts you went over.

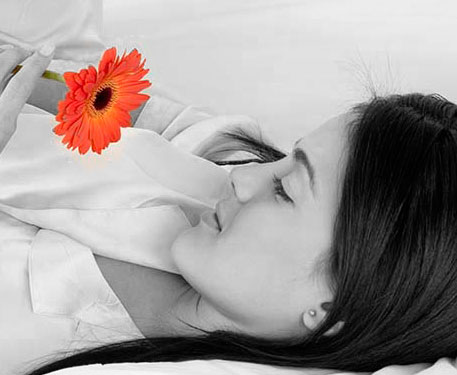
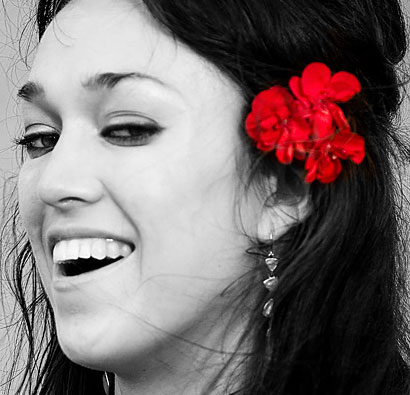
That is how easy it is to take a color photo, make it black and white, then bring the color back to make your image look professional.

Here is another example

And another example

You can also do the same thing with someone’s eyes if you want them to stand out in a black and white image to add a neat effect. Experiment with this method and
see what you can get!

Tip 2: Adding Depth of Field to an Image

In this next tip I will show you how to easily add depth of field to an image. If you don’t know depth of field is what you see in images when the focus is on one or multiple objects while the rest of the objects in the image are blurred out.

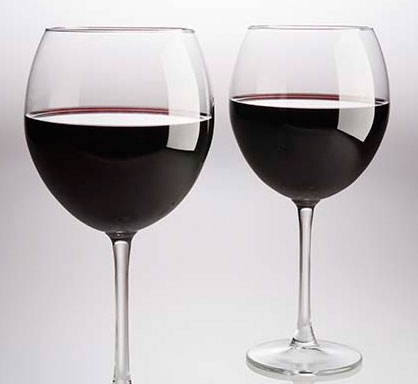
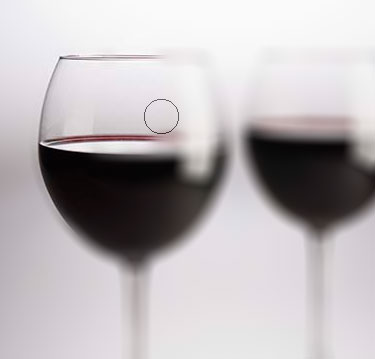
SO open up the wine picture you downloaded previously and duplicate the layer like we did with the other image.

Next we need to add some blur to the image you just duplicated.

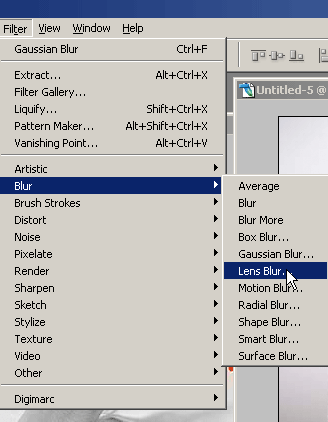
You can use about any of the blurs but I like the result the best from the lens blur filter.

So go to filter>>blur>>lens blur

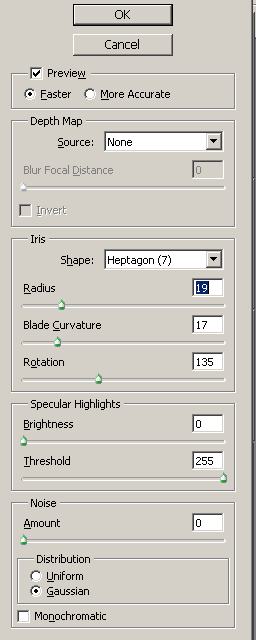
Use these settings or experiment with your own

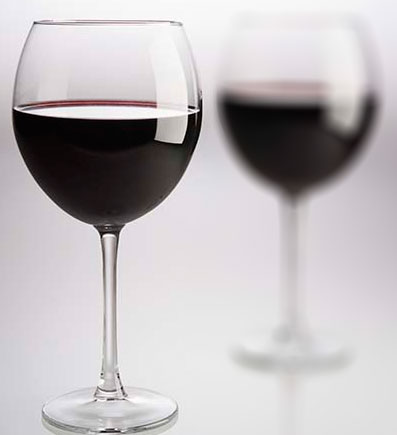
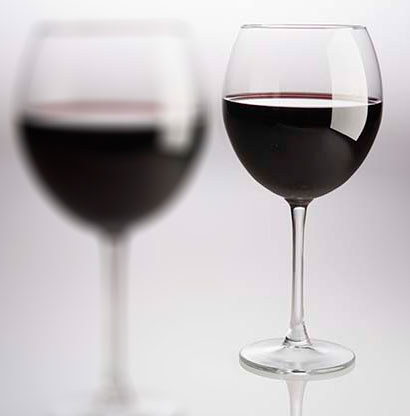
Now you know what to do, add your layer mask to the top layer and paint away the blur you don’t want in the image. So I will erase the blur from the closest glass so the glass further back will be out of focus.

Do you see the difference on how your eyes see the image now?

Here is what mine looks like

You can also reverse that and put the blur on the closest glass

That is all for this quick and simple tutorial. I hope this shows you some easy techniques you can use in photoshop to achieve some professional results!


Create Dream Effect

Posted on 8:50 PM In: ,

I am going to show you how to create dreamy portrait effect to your photos.

Step 1: First open an image.

Step 2: Duplicate the layer by pressing Ctrl+J (duplicated layer name 'Layer 1').
Select 'Layer 1' and go to Image> Adjustments> Brightness/Contrast and apply the following setting:


Step 3: Select the 'Layer 1' and go to Image> Adjustments> Color Balance or press Ctrl+B and use these settings:


Step 4: Now set your foreground and background color like below:


Then go to Filter> Distort> Diffuse Glow and use these settings:

Step 5: Go to Image> Adjustments> Levels or press Ctrl+L, make the portrait a little bit darker by playing with the levels. Apply these settings:

Step 6: Duplicate the layer by pressing Ctrl+J (it's name 'Layer 1 copy').
Select 'Layer 1 copy' and go to Filter> Artistic> Poster Edges and use these settings:


Set the new duplicated layer blending mode to 'Soft Light'.

Step 7: Now duplicate the layer (it's name 'Layer 1 copy 2').
We need soft and brightness. So go to Filter> Blur> Gaussian Blur and use these setting:


Set the 'Layer 1 copy 2' blending mode to 'Screen' and Opacity to '80%'.

Step 7: In the final step. Select 'Layer 1 copy 2' and go to Image> Adjustments> Color Balance and use these settings:


Here's the final result!